One of the core tenets of Guild Wars 2’s original design was that the team wanted to create an MMORPG without the classic role trifecta of Tank/Healer/DPS. To accomplish this, the developers gave every class the capability to take on any of the three roles.
Even so, some specs are clearly much better at healing than others. Consider that healers in Guild Wars 2 are usually also tanks, and that they’re generally expected to generate one of two important buffs (quickness or alacrity), and suddenly some options just aren’t up to snuff. Let’s take a look at some of the best healers the game has to offer.
This list will focus on builds that excel in instanced PvE content such as Raids, Strikes, and Fractals.
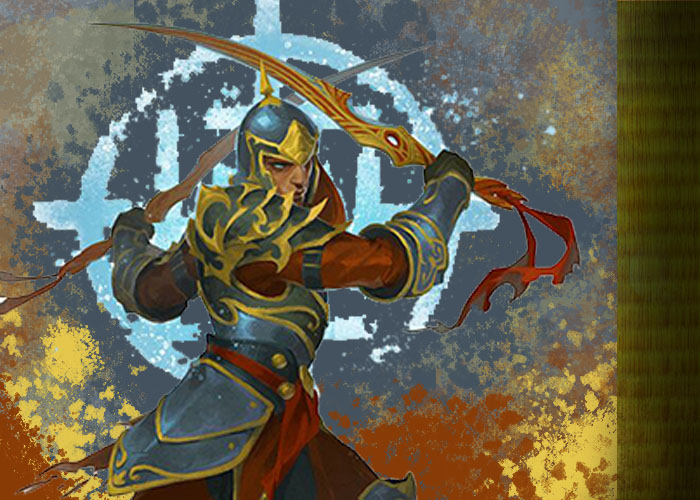
10. Alac Willbender

Willbender is a build that only became viable as a healer recently. It’s capable of generating alacrity, regeneration, might, protection, and swiftness, and has a mix of passive healing from regen and ‘Writ of Persistence’ and burst healing options in ‘Receive the Light!’, ‘Holy Strike’, ‘Empower’, and triggering Relic of Karakosa with ‘Holy Strike’ or ‘Mighty Blow’.
Willbender struggles with consistency in both healing and boon uptime, which comes down to a few different issues. Most of its boons and healing are provided by striking enemies, meaning Willbenders need to be actively hitting something to provide their full healing output and maintain boon uptime.
Willbender provides alacrity and other key boons by using its virtues, ‘Rushing Justice’, ‘Flowing Resolve’, and ‘Crashing Courage’; however, Willbender’s main gimmick is that the usual Guardian virtues are replaced with new skills that cause you to charge forward. This can easily send you into a dangerous AoE or off the edge of an arena, and often creates situations where you’re forced to pause your alacrity uptime to reposition.
Willbender also struggles with self-sustain, unlike most other healers. This means it makes a poor tank, and on certain encounters it can go down easily from just a few mistakes, which could in turn lead to a wipe.
Ultimately, Willbender is still a good balance patch away from being able to stand alongside the true top-tier healers, but given the current tight healer meta, it was good enough to find its way onto this list.
Why Alac Willbender is good for healing:
- Provides alacrity
- Good CC
- Easy to learn
Choose Alac Willbender if:
- You want to heal as a Guardian and really hate Firebrand
- You want a build that’s easy to learn but hard to master
9. Alac Specter
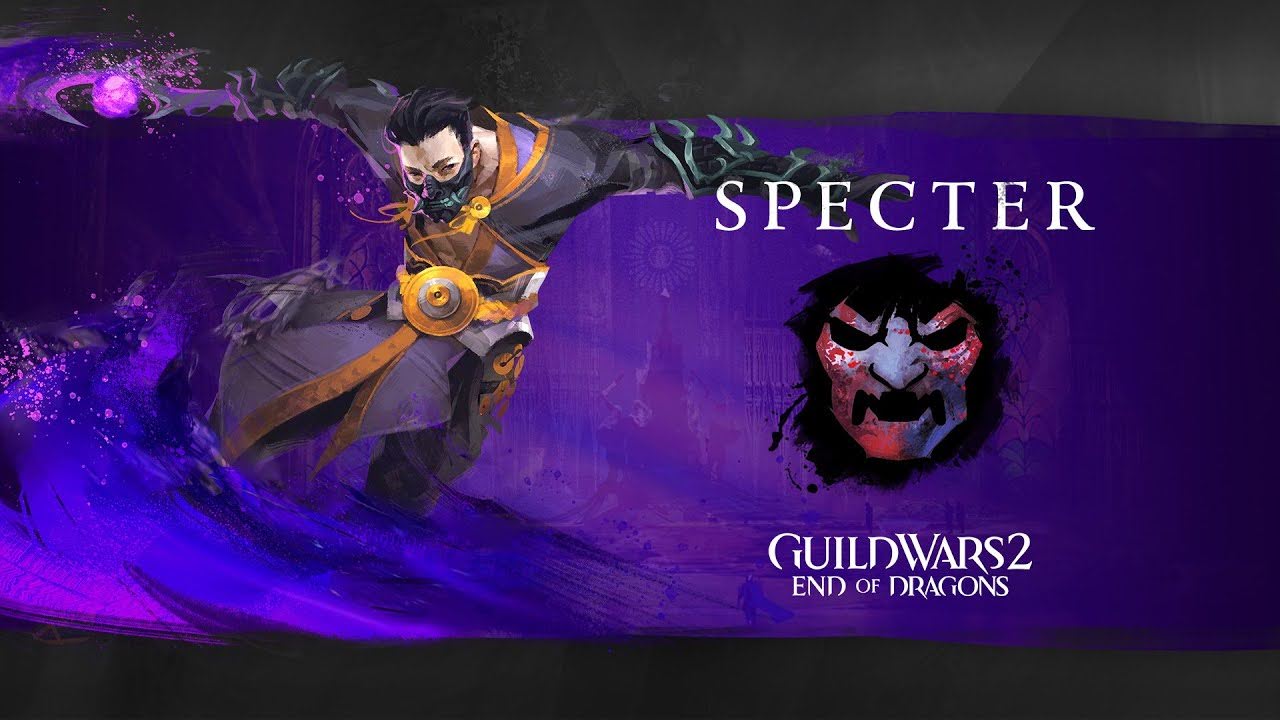
Specter is a healer that provides alacrity, fury, swiftness, resistance, protection, stability, and vigor while having great CC and mobility. It’s unique among healers in Guild Wars 2 in that it utilizes ally targeting rather than simply pulsing boons and healing in an area.
The Specter’s unique ‘Siphon’ skill can be used on an ally, after which using ‘Enter Shadow Shroud’ will tether you to that ally. Much of your healing and boons pulse out from the tethered ally rather than you. This comes with some unique benefits—you don’t have to be on the group so long as you stay in range of your tether—but also leaves you at the mercy of whoever you tether to.
Specter uses a combination of healing and barrier, applying heals & barrier when it exits its shadow shroud, generating alacrity with its shroud skills, and generating barrier whenever it applies stealth to allies. It also uses Siphon on enemies to generate its other boons and can use ‘Shadow Sap’ on allies to grant protection in an AoE.
While Specter has decent healing and boon coverage, its reliance on other players makes it somewhat inconsistent, especially with random pugs. Its rotation also features forced movement in the form of shadowsteps, and its boon uptime is hurt if you take damage while in shadow shroud. Encounters that force players to move around a lot can seriously screw over your healing and boon uptime if the player you siphoned is forced to run off.
Similar to Willbender, Specter healers still struggle with consistency, in part due to how differently their build works than most others in the game. In the right hands, they can perform very well, and their main gimmick allows for unique strategies. It’s another one to keep an eye on in future balance patches.
Why Alac Specter is good for healing:
- Alacrity and great boon coverage
- Combines healing and barrier
- Doesn’t have to stack with the group
Choose Alac Specter if:
- You want a healer that plays completely differently from others in Guild Wars 2, or that feels a bit more similar to traditional MMORPG healers
- You want lots of stealth access for your squad
- You want a challenging build
8. Alac Tempest

Tempest is a healer with a fluid, difficult rotation. It provides sustained healing while in water attunement and permanent uptime of alacrity, fury, might, protection, regeneration, and swiftness, plus high vigor uptime.
Tempests generate alacrity whenever they use one of their unique overload skills thanks to the ‘Lucid Singularity’ trait. They also generate large amounts of might with ‘Overload Fire’, and can duplicate boons on themselves to allies with ‘Heat Sync’ and extended their durations with ‘Sand Squall’.
Most of Tempest’s healing comes from water attunement. Swapping to water will heal thanks to the ‘Healing Ripple’ trait, and you can use ‘Tidal Surge’, ‘Water Globe’, and ‘Cone of Cold’ for additional healing. Outside of water attunement, you must rely on utility skills such as ‘“Wash the Pain Away!”’, ‘Signet of Water’, or ‘Crashing Waves’.
Tempest also has a handful of utility effects to give it a bit of an edge. ‘“Rebound!”’ can allow you and your allies to survive lethal damage and ignore certain mechanics, while the ‘Arcane Resurrection’ trait allows you to drop a passive revive on downed allies without wasting time in the revive animation.
Why Alac Tempest is great for healing:
- Alacrity and decent boon coverage
- Good healing in water attunement
- Synergizes well with other supports
Choose Alac Tempest if:
- You want to challenge yourself with a tougher build
- You want a healer with a fast-paced, fluid rotation
- You want access to Tempest’s utilities such as ‘“Rebound!”’ and ‘Signet of Water’
7. Quick Scrapper

Scrapper is a complex healer with a steep learning curve that provides quickness, powerful defensive utilities, a ranged resurrect in the form of its unique ‘Function Gyro’ skill, and permanent superspeed.
Scrapper maintains quickness with the ‘Kinetic Accelerators’ trait, which generates boons whenever you perform a blast finisher or leap finisher. The ‘Function Gyro’ creates a lightning field, and Scrapper has access to a variety of other ways to create fields, including ‘Blast Gyro’, ‘Acid Bomb’, ‘Magnetic Inversion’, and more. Blast finishers will additional apply boons or heal your allies, while leap finishers daze enemies.
Scrappers usually use a mace and shield for vigor uptime, great CC, a channeled block and personal reflect, and knockback, which make for great utilities. They can alternatively swap to shortbow to apply aegis, generate additional might and protection, and provide better healing.
Scrapper has a variety of utility thanks to its many skills, including some unique benefits such as superspeed, but it’s very complex and can be tricky to learn—and even harder to master.
Why Quick Scrapper is great for healing:
- Good healing and defense
- High mobility
- Heavy CC
- Lots of utility
Choose Quick Scrapper if:
- You want a versatile build with lots of utility
- You want to provide 100% superspeed uptime
- You want to challenge yourself with a complex, fast-paced rotation
6. Alac Mechanist
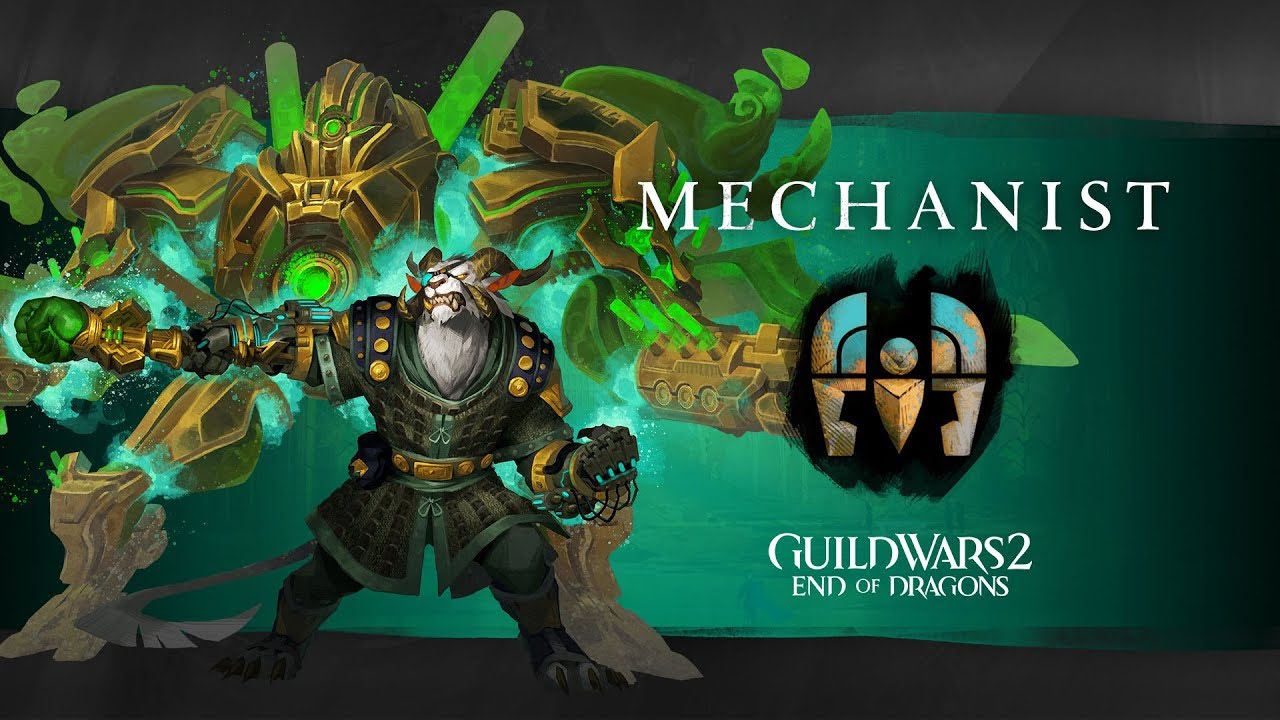
Mechanist is a unique case when it comes to healer builds in that it can provide offensive boons and much of its healing from range. This has made it a rather popular choice for tanking and kiting roles, though it somewhat lacks in self-sustain, making this a difficult job. Even when used more traditionally, however, it is a powerful and reliable healer.
The mech itself generates some alacrity whenever it applies barrier to allies thanks to ‘Mech Frame: Channeling Conduits’; you can maintain alacrity with the ‘Mech Core: Barrier Engine’ trait and ‘Barrier Burst’ skill. In addition to alacrity, it can maintain fury, regeneration, protection, and 25 stacks of might, and can provide aegis and/or stability with the ‘Crisis Zone’ skill in a pinch.
Mechanists provide a decent bit of barrier with the abovementioned skills and ‘Essence of Animated Sand’. They can provide additional healing with ‘Infusion Bomb’, ‘Super Elixir’, and ‘Elixir Shell’, and good burst healing with ‘Vital Burst’.
Why Alac Mechanist is great for healing:
- Provides alacrity and healing at range
- Grants both barriers and healing
- Decent boon coverage
Choose Alac Mechanist if:
- You want a reliable healer that’s relatively easy to learn
- You want a healer that can perform effectively from range
- You want to focus on healing & mechanics while your mech handles boons for you
5. Quick Firebrand

The quickbrand is perhaps one of the most ubiquitous builds from throughout Guild Wars 2’s history. Though the time of its utter domination over the healing meta has passed, it’s still a very powerful and versatile build.
Firebrands maintain quickness uptime with their healing skill via ‘Liberator’s Vow’ combined with ‘Mantra of Potence’ and ‘“Feel My Wrath!”’. They can also use the ‘Stalwart Speed’ trait to grant additional quickness whenever they apply aegis or stability, which is something they usually do a lot.
In addition to quickness, Firebrands bring high fury and might uptime, and are also capable of applying aegis, protection, resistance, resolution, and stability. To top it all off, they’ve got decent healing and heavy condition cleanse.
The leading cause of Firebrand’s previous prevalence is its ability to upkeep aegis and stability, allowing some groups to practically ignore many fight mechanics, especially in fractals. Though it isn’t as dominant today, this is still an incredibly powerful and useful asset. Firebrands also have plenty of other useful utilities, such as ranged revives, projectile hate, and more.
Why Quick Firebrand is great for healing:
- Good healing and amazing defensive boon coverage
- Provides quickness
- Very versatile with lots of utilities
- High aegis and stability uptime
Choose Quick Firebrand if:
- You want a powerful and versatile healer
- You want access to its utilities such as ‘Signet of Mercy’
- You need a reliable source of constant aegis and/or stability
- You want to relive the good ol’ days of the fractal meta
4. Quick/Alac Chronomancer

Chronomancer is a powerful healer which can provide either quickness via the ‘Seize the Moment’ trait or alacrity via the ‘Stretched Time’ trait (but not both), making it a versatile asset to any group comp. The quickness variant wants to summon as many clones and phantasms as possible and frequently use shatter skills, while the alacrity variant just cares about creating phantasms.
In addition to quickness/alacrity, Chronomancers can provide might, vigor, stability, aegis, protection, and regeneration based on which utility skills they take. They also have access to the ‘Distortion’ skill, which can be extremely useful for surviving things you aren’t meant to survive.
As for healing, you have many options as a Chronomancer. You can heal with each clone you shatter with the ‘Restorative Illusions’ trait, and with each illusion you summon with the ‘Illusionary Inspiration’ trait. Wells will heal allies with the ‘All’s Well That Ends Well’ trait; mantras with the ‘Restorative Mantras’ trait, providing good burst healing by spam-casting ‘Mantra of Pain’.
Chronomancer’s unique mechanic is ‘Continuum Split’, a skill that reverts you to a previous state after it expires. It can be used to cheat through some mechanics, or to allow you to stack up boons, healing, or CC more effectively by “refunding” the cooldowns of skills used in the duration. Combined with the huge variety of utilities at the Chronomancer’s disposal, it’s an extremely versatile tool that skilled players can put to great use.
Chronomancer is extremely versatile, but also rather complex as a result. The basics are easy to learn, but the skill ceiling is very high. To make full use of its repertoire you’ll need a deep understanding of its large library of useful skills and traits.
Why Quick/Alac Chronomancer is great for healing:
- Can provide alacrity or quickness
- Good healing and boon coverage
- Great CC and lots of utilities
- Extremely versatile
Choose Quick/Alac Chronomancer if:
- You want access to both core boons to meet any squad’s needs
- You want a large library of versatile utilities to bring to any situation
- You want to challenge yourself with a tough build
3. Quick Herald

Herald is an effective healer that is incredibly easy to pick up and play effectively and pulses quickness, regeneration, protection, and more in a wide range.
Heralds take a staff as their weapon of choice, which provides decent healing from its auto-attack chain, burst healing with the ‘Mender’s Rebuke’ skill, and both healing and condition cleanse from the ‘Renewing Wave’ skill. They recently became even more powerful with the release of scepters for Revenant, as you can use the ‘Blossoming Aura’ skill to apply barrier and ‘Otherworldly Bond’ to apply significant might stacks to one person.
Much of Herald’s passive healing comes from its boon application. The ‘Elevated Compassion’ trait pulses quickness and healing while you’re using 6 or more upkeep, and grants additional healing whenever you apply boons to allies. This means you’ll always want to be at 6 upkeep; use the bubble in Centaur Stance, hammers in Dwarf, or several facets in Dragon.
Herald is an incredibly versatile healer. It generally takes Dragon and Centaur stances for their boon generation and burst healing respectively, but the latter can easily be swapped out on encounters with lower damage pressure. You can provide stability with Dwarf stance or even bring boonrip with Demon Stance.
Why Quick Herald is great for healing:
- Great healing and boon uptime
- Easy to play
- Highly versatile
- Good CC (staff skill 5)
Choose Quick Herald if:
- You want a powerful healer that’s easy to learn and play effectively
- You want a versatile build
- You need Herald’s unique utilities such as ‘Protective Solace’ or ‘Inspiring Reinforcement’
2. Alac Scourge
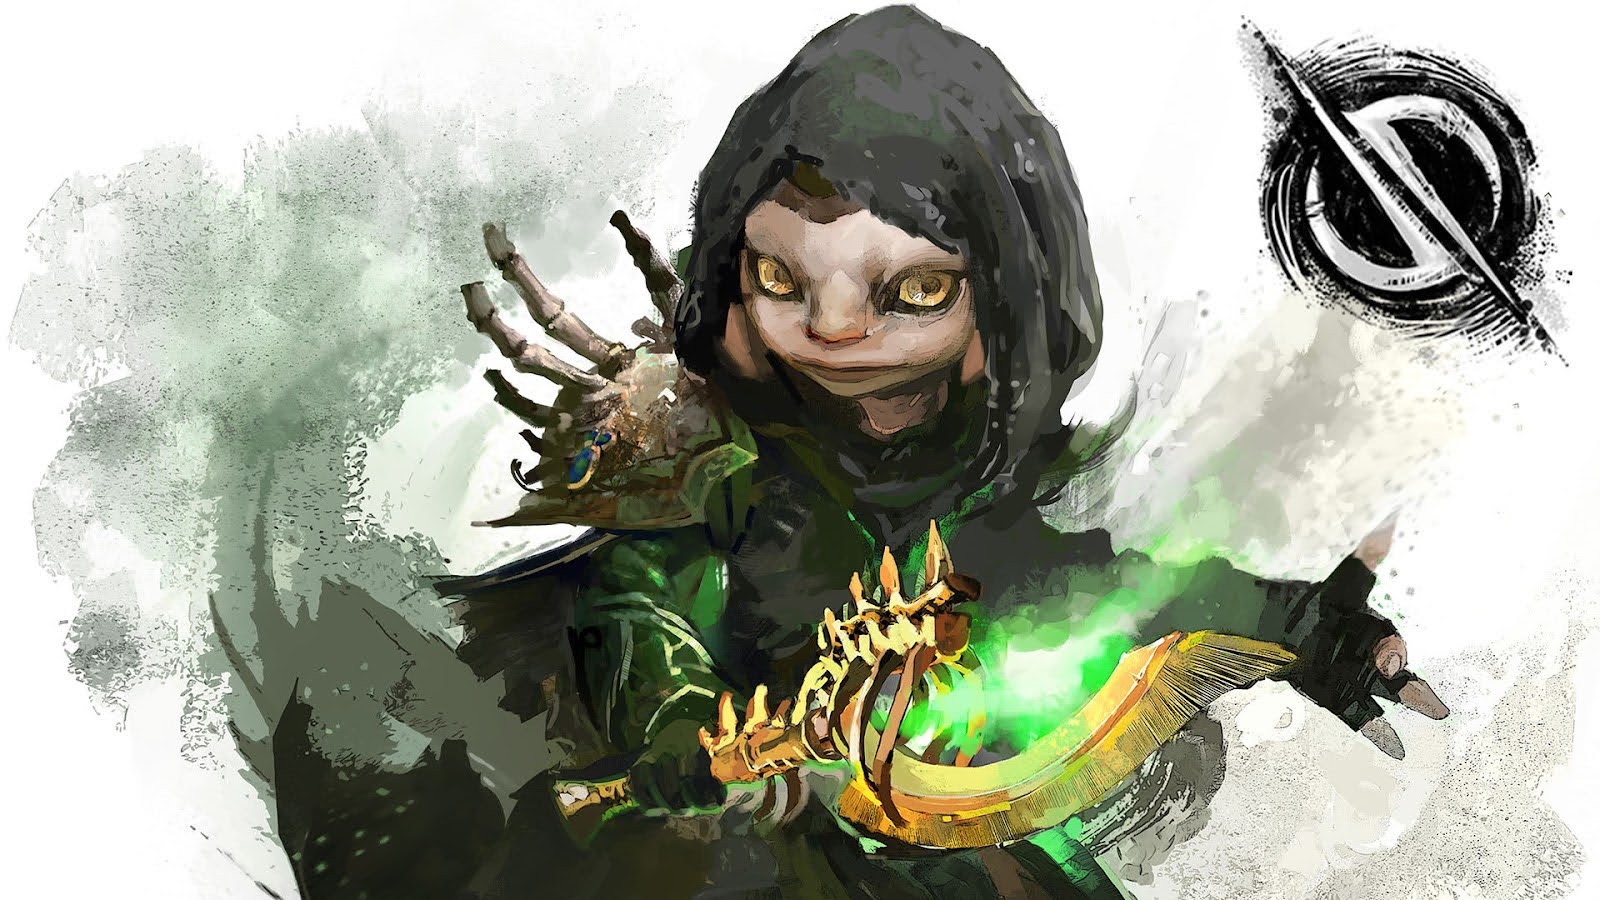
Scourge is a powerful healer which primarily applies barrier rather than directly healing its allies, though it has great standard healing as well. It also has decent boon coverage with alacrity, might, fury, regeneration, and protection.
Scourges use ‘Manifest Sand Shade’, ‘Sand Cascade’, and ‘Sandstorm Shroud’ off-cooldown to generate heavy barriers, as well as alacrity thanks to the ‘Desert Empowerment’ trait and protection from ‘Herald of Sorrow’. They maintain might and fury with ‘Dessicate’ and ‘Oppressive Collapse’, and regeneration by dodging.
While it primarily relies on barrier from its shroud skills or ‘Serpent Siphon’, Scourge has access to some decent burst healing from ‘Well of Blood’ and ‘Garish Pillar’ as well. Because it primarily uses barriers, it isn’t locked into using Relic of the Monk like most healers, allowing you to get a bit more creative with your relic choice. Barriers also have some unique advantages: since they can put you over your max HP, they can be used to get around some mechanics that are meant to outright kill you.
Perhaps what Scourge is most well-known for is its ability to pull and passively heal downed allies using ‘Garish Pillar’ with the ‘Transfusion’ trait. This is monumentally useful when playing with less experienced players, and was considered almost mandatory when running certain fights (read: Boneskinner) with randoms for a long time. Trust me when I say it can even come in handy with highly-experienced groups.
While its pull is iconic and what Scourge is most well-known for, it is also an incredibly powerful build even in high-level comps and is used for solo-healing; don’t be fooled by its seemingly casual-favored ability.
Why Alac Scourge is great for healing:
- Good healing and incredible barrier generation
- Alacrity, might, fury, regen, and protecting uptime
- Simple rotation and easy to learn
Choose Alac Scourge if:
- You want a powerful healer that utilizes barriers
- You need its unique utilities, such as the sand portal or downed pull
- You want a powerful solo-healer
1. Alac Druid

This list was only ever going to end one way.
Druid is an incredibly powerful healer which provides alacrity with the ‘Grace of the Land’ trait. It also maintains might, fury, protection, and regeneration while pumping out incredibly high healing. It can even heal from range using staff or its Celestial Avatar, and is often used in solo-healing comps.
Druid is also a highly versatile build thanks to the many utility skills and pets it can bring, allowing masters of the class to fine-tune their skill bar to each encounter.
Druids maintain alacrity uptime by entering their Celestial Avatar state as often as possible and using enough Avatar skills each time to generate enough alacrity to last until the next usage. They have several ways of applying might and protection, and the combination of the ‘Rejuvenation’, ‘Wellspring’, and ‘Windborn Notes’ traits allows for almost effortless regeneration uptime.
Why Alac Druid is great for healing:
- Incredibly high healing output
- Alacrity, protection, might, and regeneration uptime
- Access to various utilities
Choose Alac Druid if:
- You need a powerful healer, especially for solo-healing a squad
- You want to provide several important boons
- You want a large degree of versatility in your skills
- You want a powerful solo-healer

